
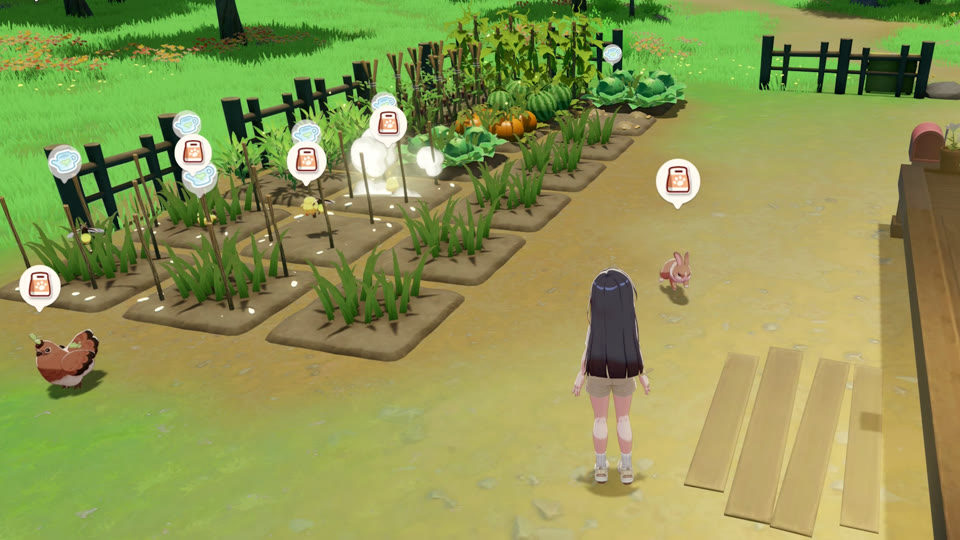

Build a compact loop from feed storage to housing to collection to processing, then automate the step that still consumes the most daily time.
Automation is strongest after the ranch already has a clean physical flow. A machine cannot compensate for scattered feed, blocked paths, or output with nowhere to go.
Map the manual loop first
Walk the route for several days and identify the action that forces extra trips.
- Count refills, collections, and storage transfers.
- Keep feed beside the species that consumes it.
- Place product processors on the exit path.
Automate the largest repeated action
Feeders, collection stations, and later equipment differ in value according to herd size and product type.
- Do not automate a task performed only once every few days.
- Ensure the machine has input and output capacity.
- Keep a manual backup for trial-critical days.
Design clear service zones
Separate animal care from crop-helper access without creating long fenced detours.
- Give rabbits direct access toward farmland.
- Place chickens and ducks near their matching plot types.
- Leave a vehicle-width or tool-friendly central path.
Audit after every herd increase
Automation that worked for four animals may fail silently after breeding or adding a species.
- Compare product output with machine throughput.
- Increase storage before output starts spilling into mixed boxes.
- Reduce herd size if care begins consuming the entire morning.
Commission one device as a controlled pilot
Before automating the whole ranch, install one device against a single measurable task. A pilot for an Auto Milker, Auto Shearer, Poultry Egg Station, or later robot system should have a known group of animals, dedicated input if required, and an empty destination for output. Run the same area manually for a few days first, then compare missed collections, walking, storage transfers, and machine attention after installation. Keep the rest of the ranch unchanged during the test so improvement can be attributed to the device. If the pilot creates a new sorting or refill burden, redesign that handoff before cloning the layout. Automation succeeds when the entire loop becomes simpler, not when one animation disappears while hidden work moves elsewhere.
- Select a contained animal group and one repeated task for the pilot first, leaving other buildings manual so failures and benefits remain easy to identify.
- Provide dedicated output storage with spare capacity before activation; an automated collector that empties into a congested mixed chest only relocates the bottleneck to sorting.
- Compare manual and automated routines using completed collections, interventions, and transfers, then copy the design only after the pilot remains reliably stable on busy days.
Design buffers on both sides of automation
Every automated ranch device sits between an upstream supply and a downstream destination. Give both sides a visible buffer. Feed, animals, or scheduled work must reach the device without interruption, while products must leave it before capacity becomes a problem. Size buffers from the longest period you realistically spend away on exploration, fishing, festivals, or multiplayer, not from an ideal daily check. Keep quest and breeding reserves outside the automated output stream so processors cannot consume protected items. If the downstream machine is slower than collection, split excess into a clearly labeled overflow chest rather than mixing it with sale stock. Buffer design turns a fragile chain into a system that tolerates absence and makes approaching failure visible before production silently stops.
- Estimate the longest normal absence from the ranch and ensure both supply and output can survive that interval without relying on an exact community throughput claim.
- Separate protected quest, breeding, and first-discovery products before automated processing, because a smooth conveyor of work can automatically consume scarce items faster than manual routines.
- Place overflow where it is obvious during the service walk; hidden overflow delays diagnosis and makes the ranch appear stable until several chains fail together.
Give the Robot Terminal a bounded service area
The Robot Terminal is a late Crafter-linked control point for automated robots, so plan its area around clear jobs rather than maximum reach. Divide the homestead into named service zones and decide which robot handles gathering, mining, logging, or another supported task. Keep active animal paths, breeding access, and crop-helper plots easy to inspect even when robots are working nearby. A robot route should terminate beside the correct storage or processing lane, not at the center of the yard. Introduce one assignment at a time and check whether its output creates congestion elsewhere. If two automated jobs share a narrow path or destination chest, separate their schedules or redesign the junction before expanding. Bounded zones make failures traceable and preserve manual access when equipment needs correction.
- Name each service zone by job and destination, then assign only one new robot workflow at a time so routing problems have an identifiable source.
- Keep gates, breeding buildings, feeders, and product stations reachable by a direct manual path even when automated equipment or output temporarily occupies nearby space during outages.
- End robot routes beside job-specific storage or processors, avoiding one central dump point that forces the player to manually sort every automated output back at home.
Use exception checks instead of full manual rounds
The goal of automation is to replace routine inspection with a short search for exceptions. Build a service walk that touches each input buffer, output buffer, housing group, and robot zone without repeating the old collection route. Look for simple failure signals: unexpectedly empty supply, output that has stopped changing, an animal group not served, or overflow appearing in the wrong chest. Record the cause before resetting the system. If the same exception occurs repeatedly, change capacity or layout rather than accepting it as daily maintenance. Preserve one manual fallback tool near the affected zone for temporary recovery, but do not rebuild the old routine around it. A good exception check is quick, diagnostic, and capable of restoring the chain before lost work spreads downstream.
- Arrange the inspection path around visible buffers and status points first, not every animal or product, so automation actually removes the former full ranch circuit.
- Log repeated exceptions by zone, cause, and recovery action promptly; a pattern of identical interventions means the system needs redesign rather than more attentive clicking.
- Keep a nearby manual recovery option for outages, then return to automated operation after correction instead of letting the emergency method become permanent hidden labor.
Frequently asked questions
Which ranch task should I automate first?
The one repeated most often and across the most animals, provided its input and output storage are ready.
Can automation replace good layout?
No. Compact paths and correctly placed storage make every automated and manual action more reliable.