

Protect ore, wood, fiber, glass, ingots, and planks until the next tool and station upgrades are secured; expand capacity only where queues block progress.
A compact production yard saves more time than an early decorative build. Keep raw inputs, processors, output storage, and the relevant worktable within a short loop.
Use Worktable I as the starter hub
Craft basic equipment and the processors that turn raw resources into upgrade components.
- Store raw wood, ore, fiber, and stone beside their processors.
- Keep a separate chest for completed parts.
- Do not sell an ingredient until the next worktable recipe is checked.
Upgrade to Worktable II deliberately
Worktable II requires Glass Pane, Softwood Plank, and Iron Ingot and adds mid-tier tools and components while retaining earlier recipes.
- Queue all three material chains before starting decoration.
- Upgrade processing capacity only for the slowest chain.
- Keep one spare set of common repair and ammunition materials.
Cluster by production flow
Create ore, wood, food, textile, and storage clusters with open grid space for later machines.
- Leave access paths around fields, coops, ponds, and machines.
- Put frequently shared inputs between two related processors.
- Use labels or consistent chest colors to reduce misplacement.
Use Build Mode safely
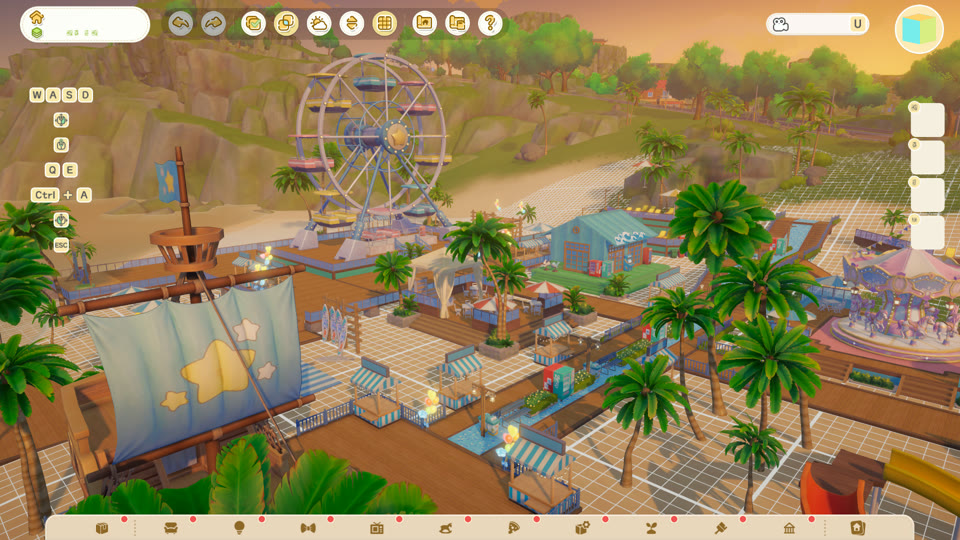
Save a layout before a large rebuild. Prebuilt layouts favor speed; freeform construction favors customization.
- Finish profession-critical stations before moving the whole yard.
- Test paths between storage and machines before decorating.
- Keep a recoverable layout before terrain or multi-level changes.
Reserve complete recipe packets before free crafting
Treat every important upgrade as a sealed packet of materials rather than a loose shopping list. Begin with the finished object, trace each component back through its processor, and place the full set in a dedicated reserve box. This prevents a convenient side recipe from consuming the one ingot, pane, plank, or intermediate part that keeps the main project blocked. The packet should include prerequisites for the station that makes the final component, not merely the visible final recipe. Recount it whenever a blueprint or profession reward changes the chain. Once the packet is complete, only surplus stock enters normal crafting. This simple rule turns a crowded workshop into a progression system with a clear finish line.
- Write the target item and every intermediate on a short checklist, then mark which worktable or timed processor handles each conversion before moving materials into reserve.
- Keep reserved components in a box that is not used for routine machine inputs, so bulk-refill habits cannot quietly consume a progression-critical part, then update the recipe packet.
- Release a packet only after the upgrade is crafted or deliberately canceled; do not borrow from it for decoration, gifts, requests, or speculative production, then update the recipe packet.
Run a cross-profession demand review each week
Crafter materials rarely belong to crafting alone. Angler equipment, farm infrastructure, ranch machines, exploration ammunition, and transport can all compete for the same processed stock. Before committing a scarce batch, review the next visible milestone in every active profession and rank those milestones by what they unlock. A processor that opens a required trial generally deserves priority over cosmetic construction, while a tool that unlocks a new resource tier can outrank both. Build a one-week demand list using only recipes currently visible in game. This avoids hoarding everything indefinitely while still protecting near-term goals. It also reveals shared dependencies early enough to increase the correct raw-material run instead of discovering the shortage after several machines have already been queued.
- List one next milestone for Crafter, Farmer, Rancher, Angler, and Explorer, then circle any material or processor appearing in more than one chain, then update the profession demand board.
- Prioritize unlocks that create new access, recipes, or automation; place convenience upgrades second and purely decorative builds after the shared reserve is secure, then update the profession demand board.
- Repeat the review after a certification, new blueprint purchase, or major quest reward because the most valuable use of the same material may change immediately.
Limit unfinished work between processors
Large piles of half-processed material feel productive but often hide the real shortage. Set a small work-in-progress limit for each transition: raw ore awaiting a furnace, ingots awaiting a cutter, or wood awaiting a plank step. When the limit is reached, stop feeding the earlier machine until the next stage catches up. The goal is not perfect industrial mathematics; it is visual control. A full intermediate box means downstream capacity or demand is the problem, while an empty one points upstream. This rule also protects storage slots from being swallowed by components with no scheduled use. Increase a limit only when a named recipe needs a larger batch, then reduce it again once that build is complete.
- Choose a clearly visible maximum for each intermediate box based on one or two planned recipe batches, not on the box's total available capacity, then mark the work-in-progress limit.
- Pause upstream production when the cap is reached and redirect that machine time toward another active chain instead of creating anonymous long-term surplus, then mark the work-in-progress limit.
- If a downstream stage stays empty despite adequate raw stock, inspect its recipe, station tier, and refill routine before crafting another upstream machine, then mark the work-in-progress limit.
Use a rebuild manifest when moving production zones
A layout change can interrupt several chains even when every machine survives the move. Before entering Build Mode, create a manifest for each production zone: machines, input boxes, output boxes, walking clearance, and the first batch that must run after the rebuild. Move one complete zone at a time and test it before dismantling the next. The acceptance test is practical: the character can reach every interaction point, the correct inputs are beside the correct machine, outputs have space, and the route connects cleanly to the worktable or shipping area. Keep a small temporary staging area for displaced items. This makes ambitious redesigns reversible and prevents an attractive new yard from silently breaking tomorrow's tool, food, or ammunition queue.
- Photograph or sketch the current zone and count its machines and boxes before moving anything, especially when several visually similar processor tiers are present, then update the rebuild manifest.
- After placing a zone, run one inexpensive test batch and collect it from the normal approach direction to expose blocked interaction points or mislabeled storage.
- Keep the temporary staging boxes until every manifest item is checked off; only then merge leftovers back into ordinary storage and begin decorative finishing, then update the rebuild manifest.
Frequently asked questions
Do higher worktables lose old recipes?
No. Higher-tier worktables retain lower-tier recipes and add new ones.
What should I build first?
Prioritize storage and the processor that solves your current material bottleneck.