
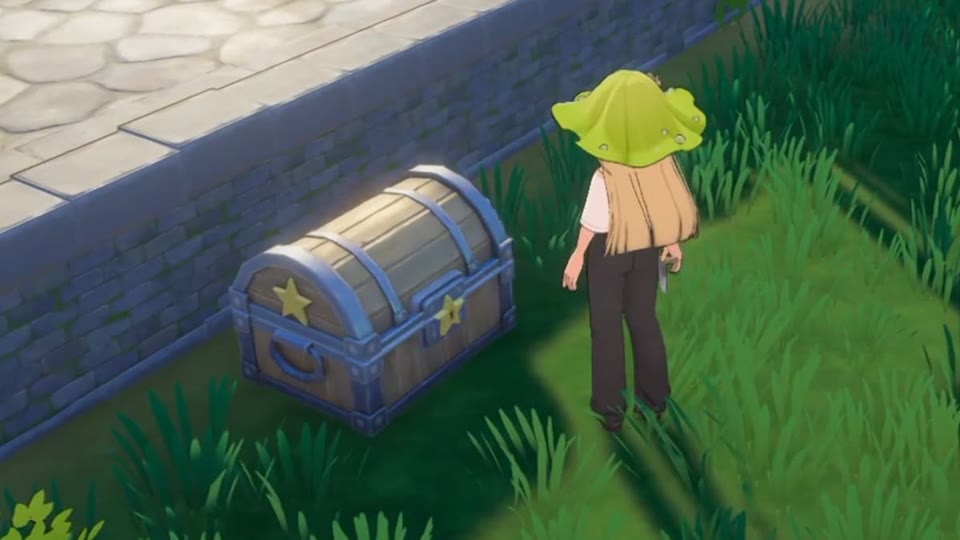

Use ordinary boxes for bulk local materials and reserve Realm Box space for items that must be available across distant production zones.
Storage Box I holds 18 item types, Storage Box II holds 36, and later boxes increase capacity. The Realm Box is portable and multiple copies share one inventory.
Sort by workflow, not alphabet
A box is useful when it sits beside the action that consumes its contents.
- Create raw ore, processed metal, wood, farming, food, fishing, and quest storage.
- Keep seeds beside fields and feed beside housing.
- Use one protected box for festival, trial, and relationship items.
Upgrade when slot pressure costs time
Capacity upgrades are worthwhile when repeated sorting trips interrupt production, not simply because a blueprint became available.
- Upgrade the busiest material box first.
- Split overflow by purpose before building many identical boxes.
- Keep empty slots in collection and expedition storage.
Use the Realm Box as a shared logistics layer
The Realm Box blueprint becomes available through Crafter progression and its copies share the same storage space.
- Carry one copy in the bag and place others at major work zones.
- Store universal repair, ammunition, food, and rare components inside.
- Avoid filling shared space with cheap local bulk resources.
Prevent accidental consumption and selling
The hardest items to replace should never live in a general output chest.
- Separate quest and certification stock.
- Keep one specimen of rare seasonal items before selling.
- Review protected storage before mass-crafting or fulfilling a request.
Design a fixed expedition loadout with return capacity
Inventory planning should begin with empty slots, not with the maximum number of supplies you can carry. Create a fixed departure loadout for mining, fishing, farming, and town errands, then reserve a visible block of bag space for expected finds. Put only universal emergency items in shared portable storage; keep activity-specific tools and consumables in the active bag so their absence is obvious before departure. When a route consistently fills the reserved block, decide whether to shorten the loop, use the Realm Box as an overflow transfer, or enlarge the bag. Do not solve every pressure point by carrying more. A stable loadout makes forgotten equipment, accidental selling, and early returns much easier to diagnose across repeated trips.
- Assign permanent bag positions to the tool, recovery food, bait or ammunition, and one emergency item used on that route, leaving the remaining area intentionally empty.
- At departure, compare the bag against a route-specific checklist rather than opening several home boxes and taking supplies from memory in an inconsistent order, then update the route card.
- After returning, record which reserved slots filled first; repeated overflow by one resource category identifies the best candidate for Realm Box transfer or route splitting.
Separate shared access from machine-safe reserves
Shared storage is convenient precisely because many locations can reach it, which also makes its contents easy to consume without noticing. Divide the Realm Box conceptually into two groups: mobile supplies intended for broad use and protected components assigned to named projects. If nearby crafting or processing interfaces can see shared stock in the current game version, never assume an item is safe merely because it is not in your bag. Keep irreplaceable quest, certification, festival, and first-catch items in ordinary local boxes unless you need remote access. For shared project materials, maintain a written floor that must remain untouched. This preserves the Realm Box as a logistics tool without turning every convenient craft into a hidden withdrawal from future progression.
- Use the first shared slots for universally useful supplies and place project reserves in a clearly separated final row with a note naming their intended recipe.
- Before mass-crafting near shared storage, compare visible ingredient counts with each reserve floor and transfer protected items to a local box when the interface offers no lock.
- Audit the shared inventory after large crafting sessions or multiplayer visits, because a changed quantity matters more than remembering who might have used the material.
Create transfer rules for every remote work zone
A remote plot, dock, or forest route needs a defined transfer rule or it will slowly accumulate stranded tools and mixed materials. Give each zone a local box for items consumed only there, an outbound box for goods returning home, and a Realm Box access plan for truly shared supplies. At the end of a visit, move only valuable or urgently needed outputs into shared storage; leave cheap local bulk beside the machine that consumes it. This reduces needless handling and protects shared capacity. Use the same rule in reverse when restocking: transfer a measured next-session batch, not the entire central reserve. The result is a predictable exchange between local storage and the shared network rather than constant ad hoc shuffling.
- Label the local box by activity and keep tools, feed, bait, seeds, or fuel there only when they have no regular use elsewhere on the island.
- Define an outbound priority order such as rare components, quest items, finished intermediates, then ordinary bulk, so a nearly full shared box never forces improvisation.
- Restock remote stations with one planned session of inputs plus a small disruption buffer, leaving the main reserve at home for competing recipes and emergencies.
Perform a slot audit before expanding capacity
Capacity upgrades solve genuine slot pressure, but they can also conceal duplicated stacks, obsolete supplies, and poor category boundaries. Before paying for an expansion, empty one problem container into a temporary sorting area and classify every stack as active input, reserved project stock, archive specimen, sale output, or discard candidate. Consolidate identical items and move each category to its correct zone. Then operate normally for several days. If the cleaned container still fills with useful, correctly placed stock, the capacity upgrade has a clear job. If it remains comfortable, spend the materials elsewhere. Repeat the audit after major profession unlocks because old components can become useful again, while once-important starter supplies may no longer justify prime shared slots.
- Count occupied item-type slots before and after consolidation; the difference shows how much pressure came from organization rather than from a real capacity shortage, then update the capacity audit.
- Keep one labeled temporary box during the audit and empty it completely afterward, preventing a supposedly short sorting exercise from creating permanent mystery storage, then update the capacity audit.
- Approve expansion only when correctly categorized stock repeatedly reaches the working limit and the added capacity will reduce a known route or production interruption, then update the capacity audit.
Frequently asked questions
Do multiple Realm Boxes provide separate storage?
No. They share one inventory, which is why they work well as a cross-island logistics layer.
When is Storage Box II worth building?
When 18 item-type slots are causing frequent overflow or mixing materials that belong to different workflows.