
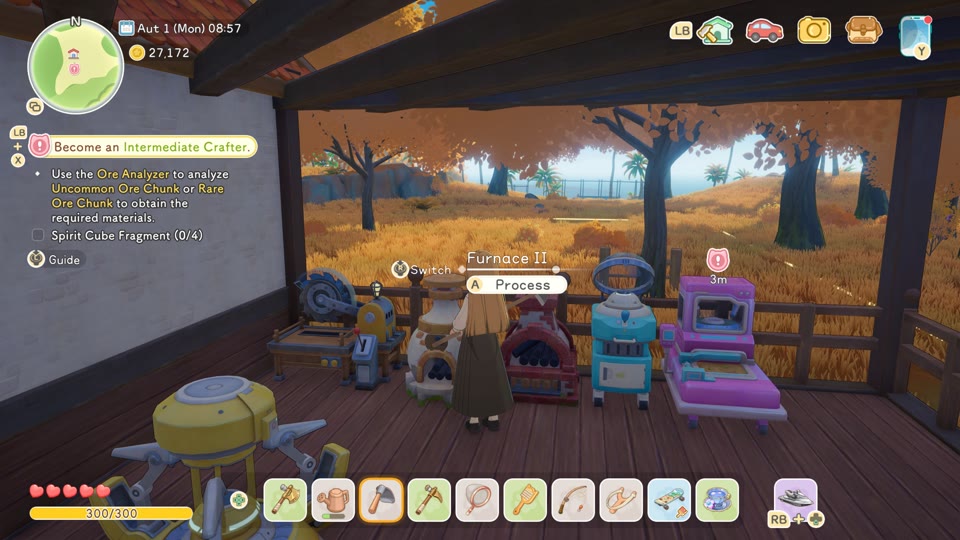

Analyze in target-driven batches. Reserve refined materials for the next Worktable, tool, transport, or profession trial before spending them on optional crafts.
The Ore Analyzer is a processing machine sold through the General Store blueprint path. It extracts hidden materials from ore chunks and competes with other crafting uses for storage and machine time.
Start from the next recipe gate
Identify the exact advanced material that blocks progress, then trace it back to its ore zone and processing chain.
- Read the next Worktable or tool recipe.
- Check whether the needed item comes from direct smelting or analysis.
- Mine only the zone that can produce the target.
Batch ore chunks by purpose
Randomly analyzing every chunk can fill storage with materials that have no immediate use.
- Keep a labeled analysis-input box.
- Run one target batch at a time.
- Record the useful output before committing the whole reserve.
Protect rare refined components
Late tools, Realm Box, transport, robots, and advanced stations often share expensive material chains.
- Reserve the full next recipe before crafting decoration.
- Keep one emergency repair or ammunition batch.
- Avoid selling unfamiliar components until Islandpedia and recipes are checked.
Upgrade tools only when access changes
Advanced mining equipment is most valuable when it opens harder nodes or materially shortens a repeated route.
- Compare the tool recipe with the blocked resource tier.
- Bring enough food and bag space to exploit the upgrade.
- Update the mining route immediately after crafting it.
Use a sample-and-stop rule for unfamiliar ore chunks
When a new ore chunk appears, do not feed the entire stack into the Ore Analyzer. Process a small sample, record every output shown, and stop as soon as you can answer whether the result advances the current recipe gate. A sample can reveal useful rare material, ordinary refined output, or a chain that requires a different station afterward. Keeping most of the stack uncommitted preserves options if a quest, direct smelting recipe, or later blueprint needs the original form. Increase the batch only after checking the relevant Worktable and Islandpedia entries. This method accepts that community tables and old guides may lag behind the current build while still letting the player's own save produce dependable evidence at low material cost.
- Begin with the smallest practical test batch, capture the input and outputs, and keep the remaining chunks in a separate untested box until the result is understood.
- Check each new output against visible tool, worktable, transport, and profession recipes before deciding that it is merely surplus or safe to sell, then update the sample record.
- Stop testing once the target material is confirmed or disproved; random continued analysis spends optionality without answering a new progression question, then update the sample record.
Maintain a source-to-output ore ledger
A useful mining note links four things: the zone where a chunk was found, the tool or access condition needed, the analyzer outputs observed, and the recipe that consumes them. Keep one row per chunk type rather than one undifferentiated list of metals. After each expedition, update only facts personally confirmed in the current version and mark community information as provisional until tested. The ledger then answers two practical questions: where to mine next and whether the analyzer should run before another expedition. It also prevents rare outputs from becoming anonymous stacks that are accidentally sold. Over time, route planning shifts from collecting every visible node to selecting the shortest source chain for the exact component blocking the next upgrade.
- Record the named forest area and a recognizable landmark for each chunk source, avoiding precise spawn promises when nodes or access routes can vary by update.
- For analyzer results, note confirmed output names and intended recipes, but separate observed results from community-reported possibilities so certainty remains visible, then update the ore ledger.
- Before departure, filter the ledger by one blocked component and choose the route that supplies its source plus any compatible secondary materials, then update the ore ledger.
Balance analyzer time against direct refining
Ore processing has competing destinations. Some material chains need direct furnace or cutter work, while chunks intended for hidden or refined outputs occupy the analyzer. Build a dispatch decision before unloading a mining trip: reserve direct-recipe ore first, isolate analyzer candidates second, and leave an untouched discovery stack last. Then schedule the analyzer alongside, not automatically ahead of, furnaces and cutters. If a required tool needs common ingots immediately, producing them may unlock the next mining tier faster than chasing a rarer analyzer result. Conversely, a complete common-metal reserve frees the analyzer to pursue advanced components. The decision should follow the next recipe gate and available machine time, not the excitement of a newly collected chunk.
- On returning home, read the next blocked recipe and allocate its direct-smelting inputs before moving any ambiguous ore or chunks into the analyzer lane, then revise the dispatch plan.
- Run analyzer and furnace queues in parallel when their inputs do not conflict, then collect both before deciding whether the next expedition is still necessary.
- Keep a minimum reserve of common refined materials for repairs, ammunition, and station prerequisites so rare-material searches do not stop ordinary production, then revise the dispatch plan.
Revalidate output assumptions after progression changes
New profession ranks, machine tiers, and game updates can change what an analyzer output is worth even when the output table itself stays stable. After unlocking a higher Worktable or purchasing a major blueprint, review every unfamiliar analyzed component before selling or consuming it. A material previously lacking a use may now sit inside a multi-stage recipe, while a once-critical component may have become routine. Perform the same review after balance patches and keep a small verification batch for uncertain behavior. Use in-game recipe interfaces and Islandpedia as the authority for the current save, with public tables serving as search aids. This revalidation step turns stored ore knowledge into an active progression map rather than a snapshot frozen at the moment each chunk was first discovered.
- After each Crafter certification, search newly visible recipes for every rare analyzer output in storage before setting the next mining or selling plan, then mark the current build.
- Following an update, retest one small known batch and compare its outputs with the ledger instead of risking the complete reserve on outdated assumptions, then mark the current build.
- Archive old notes with a version label rather than overwriting them silently, making disagreements easier to trace when a route or recipe behaves differently, then mark the current build.
Frequently asked questions
Should every ore chunk go into the analyzer?
No. Analyze according to a target material and preserve ore needed for direct ingots, tools, or trials.
Where is the Ore Analyzer blueprint listed?
The current data lists it through Zerine’s General Store and craftable from Worktable I after obtaining the blueprint.